In this step of the design process, we focused on finalizing our design concepts and how to use 3d modeling software. We completed this design step by taking feedback from our mentor, as well as collaborating with each other. There was an even distribution of group work and individual assignments that we completed during this time. Below are the different parts to our Design Step 3.
|
Step 3, Part 1
|
Step 3, Part 2
Research your product life cycle
|
3D modeling was uncharted territory for me at the beginning of this design step. I had o really pay attention and focus on the small details to understand what was happening. The online software that we used was very helpful and the tutorials were in depth and took me step by step to create designs. It was a very reflective process and I learned a lot about my skills, which I will discuss further in my reflection section. My group did not face many challenges as a whole, but we did have trouble updating our gantt chart. This is a living document, and we had some trouble keeping up with the due dates coming our way. However, our plan at the moment is to update it twice a week, once at the beginning of the week, and again at the end to make sure we completed our tasks.
For Design Step 3, we had many different assignments to complete. We created a design decision matrix, completed individual technical tutorials, and composed a life cycle assessment and infographic for our product. In this design step we had to cooperate with others to come up with as many possible solutions. These were ideas to try, not final solutions. We can add, build, and change these aspects still and this was an important step for our future plans and guidance.
For Design Step 3, we had many different assignments to complete. We created a design decision matrix, completed individual technical tutorials, and composed a life cycle assessment and infographic for our product. In this design step we had to cooperate with others to come up with as many possible solutions. These were ideas to try, not final solutions. We can add, build, and change these aspects still and this was an important step for our future plans and guidance.
Step 3, Part 1
The first assignments we completed for Design Step 3 were the individual and group decision matrices. A decision matrix is a list of values in rows and columns that allows an analyst to systematically identify, analyze, and rate the performance of relationships between sets of values and information. Elements of a decision matrix show decisions based on certain criteria. For my group, we split the categories into the final model ideas we generated in Design Step 2. Below are the steps in which we followed to great this assignment.
The design concepts we selected are below with descriptions of each element and why we picked it.
- Decide on five to seven evaluation criteria that will be used with a decision matrix to evaluate the three concepts from the previous milestone.
- Assign weights to the evaluation criteria.
- Fill out a decision matrix. One row at a time, discuss the strengths and weaknesses of all of the concepts in the context of the given criterion and assign values by consensus before moving on to the next criterion.
- Analyze the results of the decision matrix. Use the matrix to look for weaknesses and attempt to correct them by combining ideas from different concepts.
- Select the best concept.
The design concepts we selected are below with descriptions of each element and why we picked it.
Preamp fader, parametric EQ, carrying case, quarter inch adapter
We chose this design primarily because of the parametric EQ function. Parametric EQ is the most flexible choice for balancing sound because it allows the control of all the factors of equalization (amplification, bandwidth/Q, center frequency). While it will be more difficult to learn for amateur musicians, it’ll open up more opportunities as a result. The carrying case allows for portability and the quarter inch adapter will allow it to connect to amplifiers without an XLR port and electronic instruments. Lastly, the preamp fader will allow for controllable amplification of the overall sound and a clear projection.
Volume fader, tilt EQ, cylinder shape, XLR connector
We chose this design, as we believe that it encapsulates the very idea of a human centered design. A fader would allow us to changeth evolme of the channel signals. This is a simple control which varies the amount of resistance and therefore the signal level. The tilt EQ would be a one knob system and help balance out the audio in a simpler form since it is one appliance. The cylinder shape is something we are drawn to, as we believe it would be a more unique and compact shape to design our product after. It is easy to store, and would be easy to transport or hold. The XLR connector would also be ideal in a product, as it is a common connecting system and would allow more people to use it on the output end. It is also a great alternative for balancing audio.
Preamp knob, EQ map, compact overall structure, USB adapter
The volume knob is more intuitive both because of its simple left right functionality and its use of volume as opposed to level. An EQ Map, although much trickier to assemble and taking up more room would be very helpful for visual representation of the amplitude at certain frequencies. Compact overall structure is important for both the use and target audience that we pin pointed in market research because amatuer musicians need something portable. A USB adapter would be useful for any sort of amatuer recording using a personal laptop or PC.
After selecting our promising design options, we used these elements as our grading criteria. Then, we used our own options to rank the value or importance of different factors each of the design concepts. This was how we created our individual decision matrix, as it was our own ranking and scoring. However, our own opinion can not be the final decision. This is where we came back together as a group and reported how we ranked the concepts. We discussed the different options, our thoughts, and made comprises to create a group decision matrix. This table helped us narrow down what concept to continue pursuing, as we found the one with the highest score or importance and efficiency. After tallying the scores, we found that Concept 2 was the one with the highest score and the concept that we as a group plan to pursue. Below is the document that includes my decision matrix, and our team one.
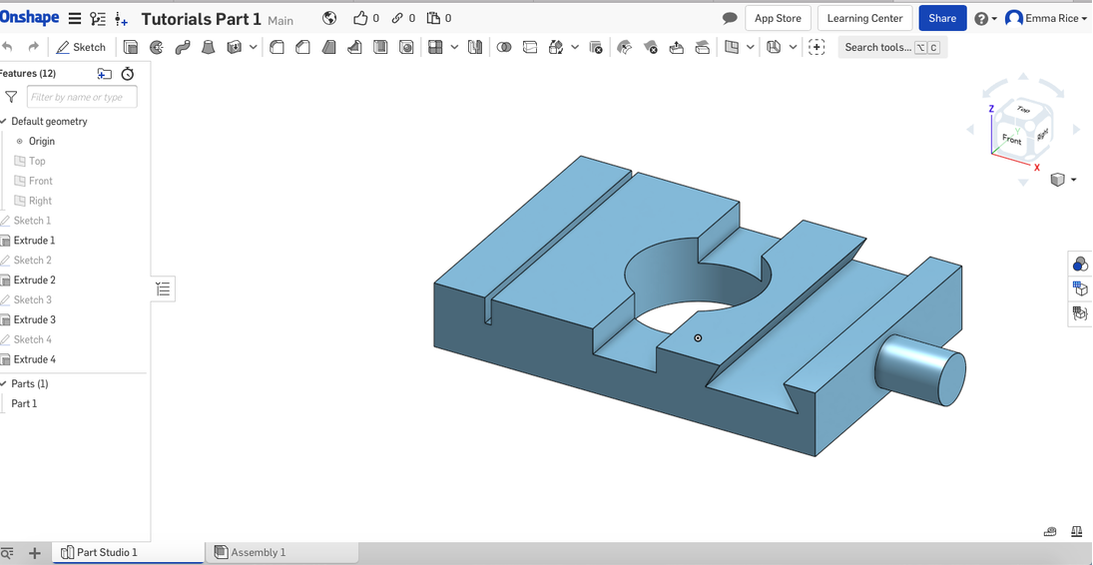
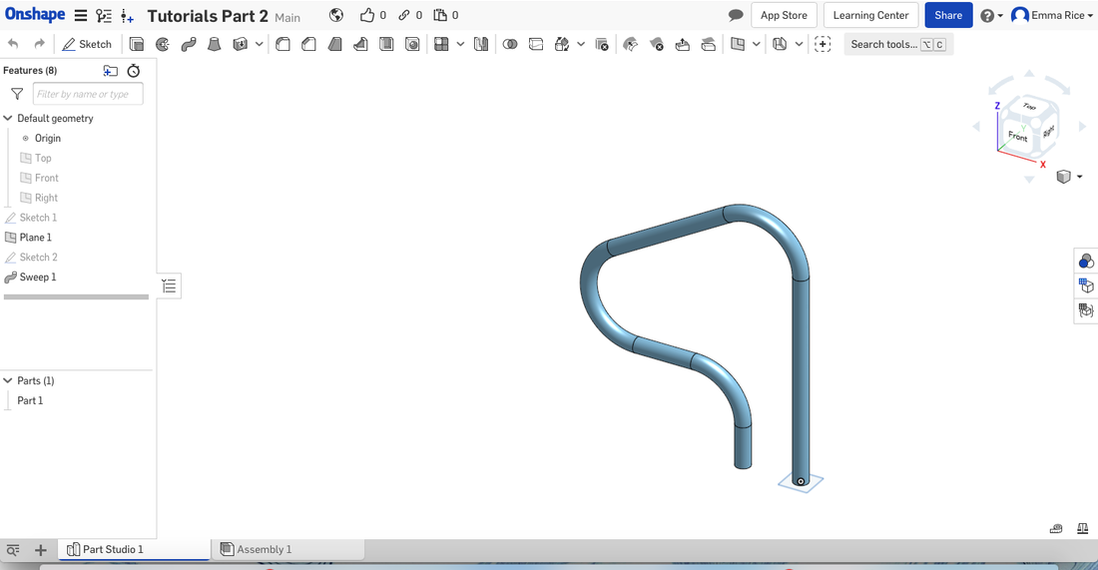
The next assignment we had in Design Step 3, Part 1 was learning how to navigate online 3D modeling. The software that we learned from is called Onshape. This CAD system allows multiple users to access and work on a single design concurrently over the cloud, using any computer, tablet or phone. It is a computer-aided design (CAD) software system, delivered over the Internet via a Software as a Service (SAAS) model. To learn how to use 3D modeling online, we were given introduction videos to review and simple first timer tutorials on how to navigate the website and tools. Below are the links to the videos we watched.
Learning how to use softwares such as Onshape is important to us in this design process, because we are eventually going to need to model what our product will look like. Having the back ground of how the site works, where the tools are, and what features we can add is crucial to know in the limited time we have to work on this project. With the restrictions of the COVID-19 pandemic, we may not be able to create a physical product or prototype. Having these skills will help us in the future with technology based classes, and producing a great final capstone project this year. I have included some images of what designs I created during the tutorials of Onshape.
|
|
Step 3, Part2
For the second week of our unit, we worked on the life cycle of our product. A product life cycle is the amount of time a product goes from being introduced into the market until it's taken off the shelves. There are four stages in it's life cycle—introduction, growth, maturity, and decline. We took this concept and performed a life cycle assessment of our product for our capstone project. A Life Cycle Assessment is a cradle-to-grave or cradle-to-cradle analysis technique to assess environmental impacts associated with all the stages of a product's life, which is from raw material extraction through materials processing, manufacture, distribution, and use. The goal of this exercise was to apply life-cycle thinking to our capstone product, to map out all inputs and outputs and identify the needed materials and processes as well as the potential environmental impacts of each lifecycle stage. We also looked up information on manufacturing and materials used in our product components life-cycles. To complete this assignment in a timely manner, we divided up the work that each member needed to complete. I was tasked with formatting and researching the distribution and transportation of our product. Below is our final draft of the written Life Cycle Assessment Report.
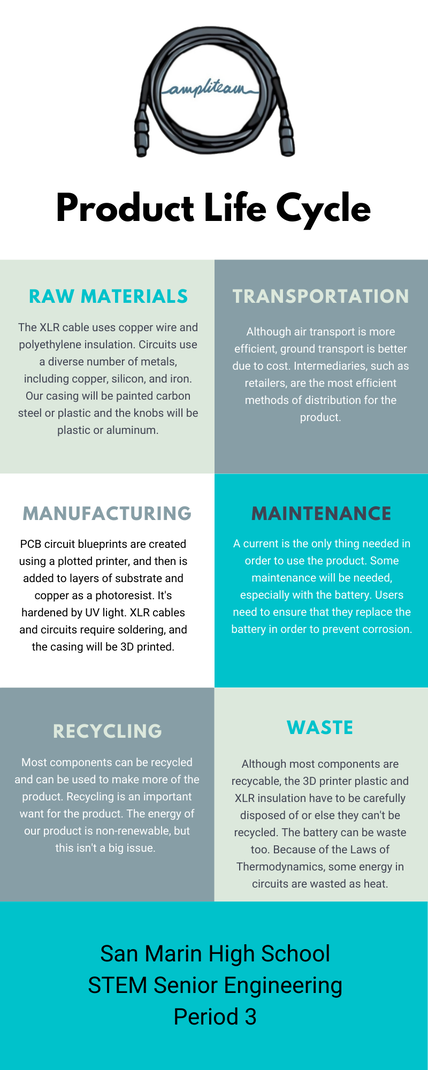
In addition to writing a formal report of our research, we created a virtual infographic that summarized our findings. Infographics are graphic visual representations of information, data, or knowledge intended to present information quickly and clearly. They can improve cognition by utilizing graphics to enhance the human visual system's ability to see patterns and trends. Our infographic covers the different topics we discussed in our report and how the research we did relates to our product in the field of audio engineering. The infographic we created was the perfect way to wrap up the work we had done for Design Step 3. You can find an image of our infographic below.
Reflection
This design step really put me in a new field of engineering, and my group and I were able to further explore the design for our capstone final product. Two skills that I did well were time management and communication. The first skill that I will talk about that I utilized well was time management. An example of when this skill came to my aid was in the beginning of the unit. I went to the gantt chart and entered all the information including due dates and assignment we needed to complete. By doing this, my group and I were able to spread out the tasks and complete them on time. This became apparent towards the end of our design step, when we were left with time to spare on the last work day. It is very encouraging to see our hard work pay off and finish assignments in a timely matter. The second skill that I utilized well in this design step was communication. An example of when I excelled in this skill area was the beginning of our second week of work. I had some questions about how to design our life cycle assessment, and I noticed that my group did as well. I suggested that we talked with each other and see what we knew and what blank areas we had. After talking with each other, we called our teacher into our breakout room and had a list of specific questions detailed out for him. Again, we successfully communicated with each other and with our advisors to create the best possible product and report.
While this was a productive design step, there are still room for me to improve. Two skills that I still want to improve upon are my technical skills and critical thinking. The first skill that I still need to work on is my technical skills. This became an issue for me when I was working on my 3D modeling tutorials. This is a new territory for me, and I had trouble figuring out the software and doing the technical aspects of modeling. I remember that I could not figure out how to draw a sketch for one of my modeling assignments, and it was very frustrating. In the end, I was able to calm down and start my tutorial over so I could see what I was missing. In the future, I will make sure that I focus more on my technical skills. I will take the time to figure out the small details of composing a final product and also take the initiative to learn a new skill such as 3D modeling by having a positive mindset. The second skill that I still need to improve upon is critical thinking. An example of when my lack of this skill became an issue was during the formatting of our life cycle assessment report. I was asked to research transportation and distribution ideas for our product, but I did not know where to start. I felt very lost, and had trouble composing the words I wanted to write down. I became flustered and angry that I could not figure out what or where I needed to begin. In the end, I was able to solve the problem front of me, but I was upset that I could not do the research initially. In the future, I will make sure that I ask for help when I need it but also find ways that I can solve my own problems. I believe that I Ama critical thinker, but I need to be more confident in myself.
All in all, this was a productive and successful Design Step 3. Although I struggled with navigating 3D modeling and online softwares, I am proud of myself for pushing through and figuring out how to do everything. We are very close to start the physical building part of the capstone project, and I am very excited!
